
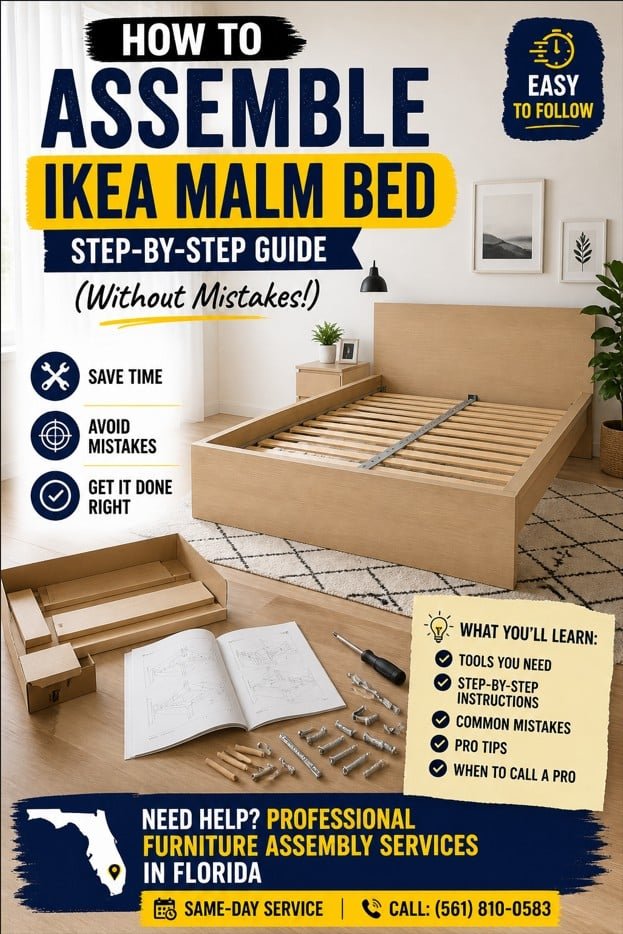
How to Assemble IKEA MALM Bed Step-by-Step (Without Mistakes)
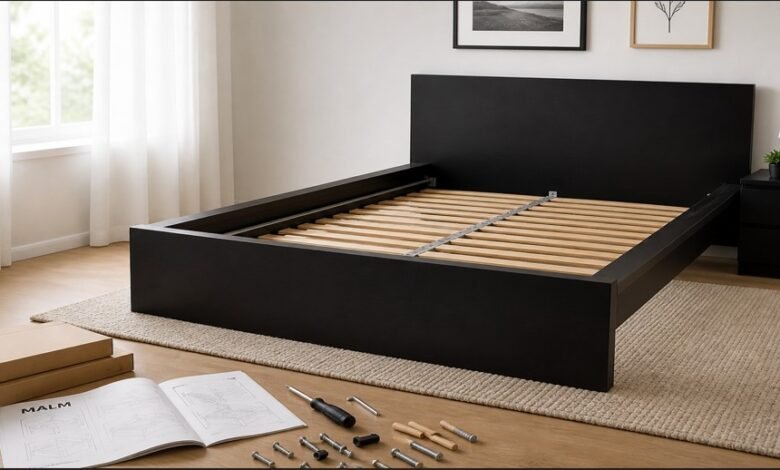
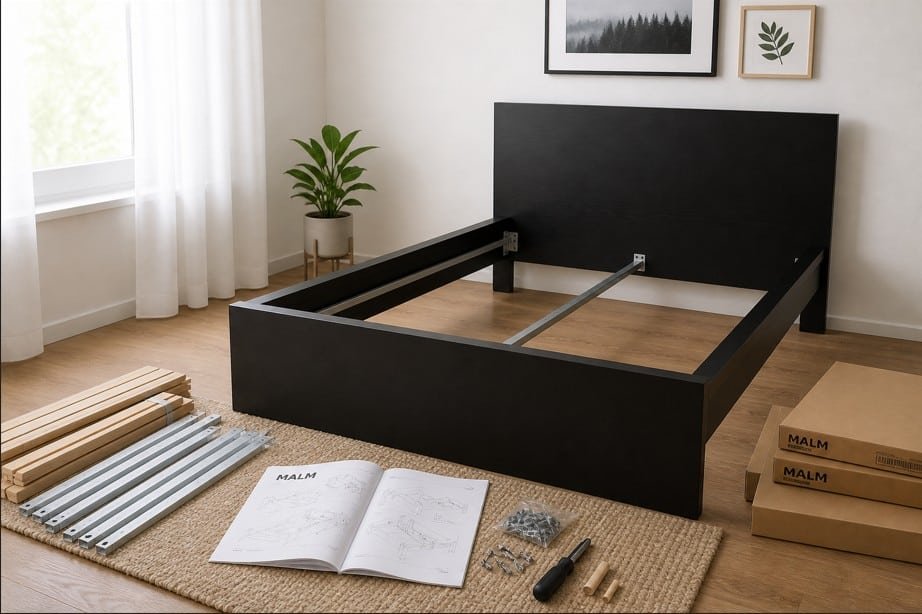
You finally brought home your IKEA MALM bed. The boxes are sitting in your living room. You open them… and suddenly you’re surrounded by dozens of screws, wooden panels, and a manual that feels more like a puzzle than instructions.
Sound familiar?
Many homeowners and renters across Florida start this project thinking it’ll take an hour — and end up spending half a day dealing with confusion, missing steps, or parts that don’t seem to fit.
The good news? You can assemble your IKEA MALM bed correctly — without frustration.
In this guide, we’ll walk you through the process step by step, highlight common mistakes, and help you decide whether DIY furniture assembly is worth it — or if hiring a professional furniture assembly service is the smarter move.
What You Need Before You Start
Before you begin your IKEA assembly, make sure you’re fully prepared. This alone can save you hours.
Tools Required
Most IKEA beds come with basic tools, but having your own helps:
- Phillips screwdriver
- Flathead screwdriver
- Hammer (for wooden dowels)
- Allen wrench (usually included)
- Power drill (optional, but speeds things up)
- Level (for stability)
Estimated Time
- Beginner: 2.5–4 hours
- Intermediate: 1.5–2.5 hours
Skill Level
- Difficulty: Medium
You don’t need professional experience, but attention to detail is critical.
Tools You Need for IKEA MALM Bed Assembly
Before you start assembling your IKEA MALM bed, having the right tools will make the process much faster, easier, and frustration-free.
While IKEA usually includes basic tools, they’re not always enough for a smooth furniture assembly experience.
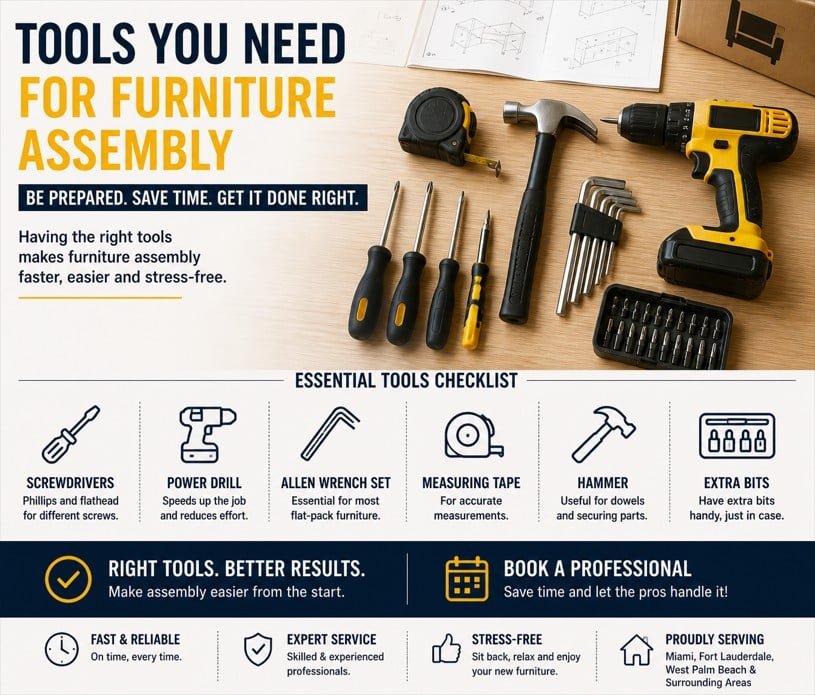
Essential Tools Checklist
Make sure you have these tools ready:
- Phillips screwdriver
For most screws included in IKEA furniture - Flathead screwdriver
Useful for adjustments and alignment - Allen wrench (hex key)
Usually included, but having a better one helps - Hammer
Needed for inserting wooden dowels securely - Power drill (optional but recommended)
Speeds up the process and saves effort - Measuring tape
Helps ensure correct alignment and positioning
Why Having the Right Tools Matters
Using proper tools can make a huge difference:
- Saves time during assembly
- Reduces the risk of mistakes
- Prevents damage to screws and panels
- Makes the entire IKEA assembly process smoother
Pro Tip
If you don’t have the right tools — or don’t want to deal with it — this is where many people choose a professional furniture assembly service.
👉 A pro comes fully equipped and can complete the job quickly and correctly.
See also: “Common IKEA Assembly Mistakes (and How to Avoid Them)”
Learn more: Furniture Assembly Service in Florida
Step-by-Step Guide to Assembling IKEA MALM Bed
Let’s break this down into simple, manageable steps.
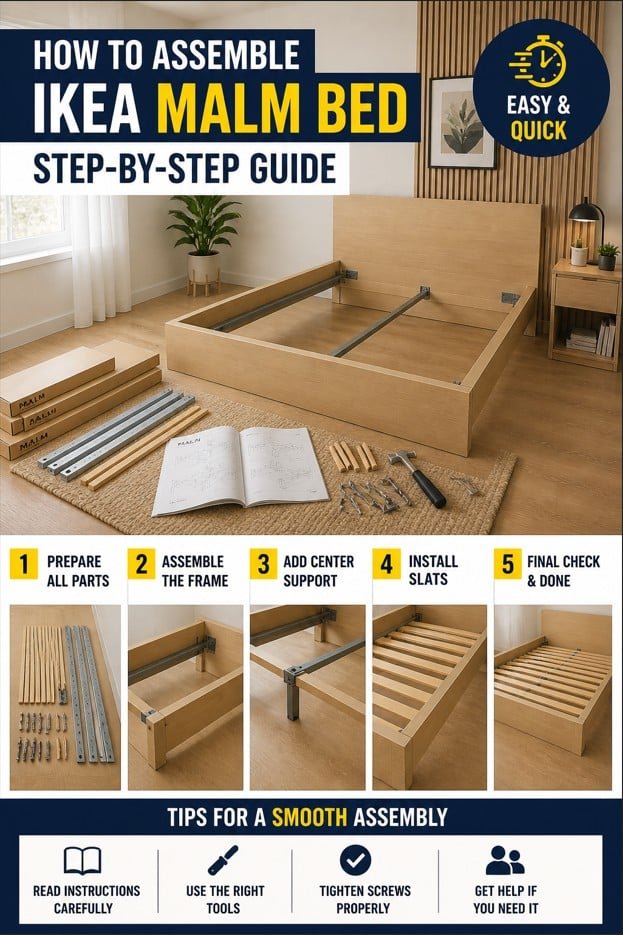
Step 1: Unbox and Organize All Parts
Start by opening all boxes and laying out every piece.
- Separate panels, screws, and hardware
- Match parts with the instruction manual
- Count everything
Common mistake: Skipping the inventory check
👉 Missing parts discovered later can completely stop your progress.
Step 2: Build the Headboard
The headboard is usually the first major component.
- Attach side panels to the main headboard piece
- Insert wooden dowels carefully
- Tighten screws evenly
Pro tip: Don’t fully tighten screws yet — keep them slightly loose for alignment adjustments later.
Step 3: Assemble the Bed Frame Sides
Now move to the side rails.
- Connect the long side panels to the headboard
- Use the provided bolts and locking mechanisms
- Make sure everything is aligned properly
Common mistake: Installing rails backward
👉 Always double-check orientation before tightening.
Step 4: Attach the Footboard
- Connect the footboard to the side rails
- Secure all joints evenly
At this stage, your bed frame should start taking shape.
Step 5: Install the Center Support Beam
This step is critical for stability.
- Place the metal or wooden center beam
- Secure it tightly in the middle
- Attach support legs if included
Common mistake: Skipping or loosely installing the support beam
👉 This can cause sagging or long-term damage.
Step 6: Add Slats (Bed Base)
- Lay out the slats evenly across the frame
- Secure them using straps or screws (depending on model)
Pro tip: Make sure slats are evenly spaced — uneven spacing affects mattress support.
Step 7: Tighten Everything & Final Check
Now go back and:
- Tighten all screws fully
- Check alignment
- Use a level to ensure the bed is even
Common Problems & Mistakes
Even with instructions, things can go wrong. Here are the most common issues during IKEA assembly:
- Missing parts
👉 Double-check packaging and contact IKEA support if needed - Wrong alignment of panels
👉 Loosen screws and realign before tightening - Stripped screws
👉 Avoid over-tightening or using the wrong tool - Unstable bed frame
👉 Check center beam and all connections - Confusing instructions
👉 Take your time — rushing leads to errors
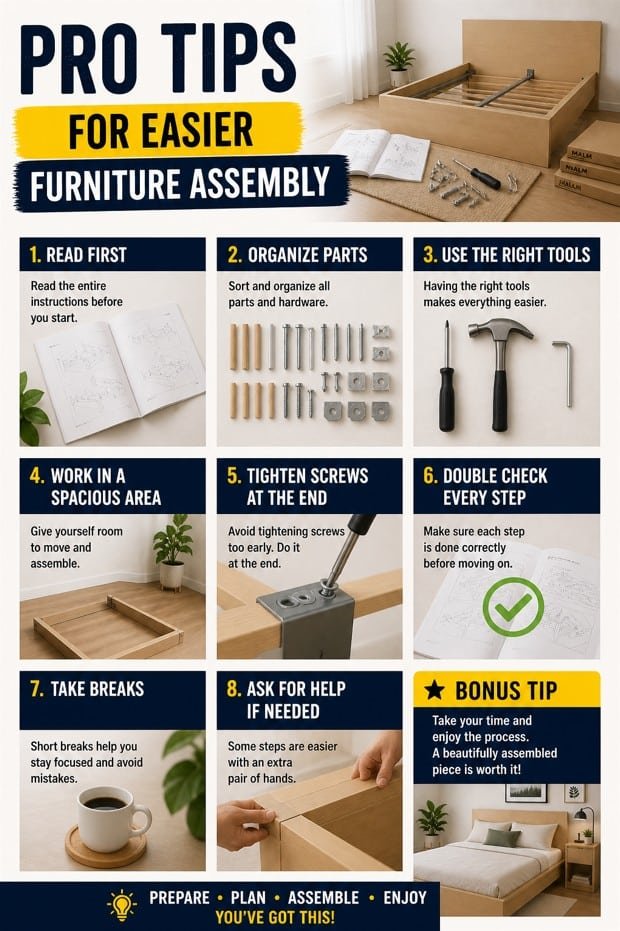
Pro Tips for Easier Furniture Assembly
Want to make the process faster and smoother? Follow these expert tips:
- Assemble the bed in the room where it will stay
(Moving it later is difficult) - Use a power drill carefully
(Avoid over-tightening screws) - Work on a soft surface
(Prevents scratches on panels) - Have a second person help
(Especially for lifting and alignment) - Follow the manual step-by-step
(Skipping ahead causes mistakes)
When to Call a Professional 🔥
Let’s be honest — not everyone wants to spend hours assembling furniture.
Here’s when hiring a professional furniture assembly service makes sense:
1. When DIY Becomes Frustrating
If you’ve already spent hours and still aren’t done, it’s time to stop and save your energy.
2. When the Furniture Is Expensive
A mistake can damage your bed or reduce its lifespan.
3. When You Don’t Have the Right Tools
Using improper tools often leads to stripped screws or instability.
4. When Time Matters
Busy schedule? A professional can finish in a fraction of the time.
👉 If you’re in Florida and don’t want to deal with the hassle, our professional furniture assembly service can handle it quickly and correctly the first time.

Cost of Furniture Assembly in the USA
You might wonder — is hiring help worth it?
Typical Furniture Assembly Costs:
- Small furniture: $60–$120
- Beds (like IKEA MALM): $100–$250
- Complex setups: $200+
DIY vs Professional
| Option | Pros | Cons |
|---|---|---|
| DIY | Saves money | Time-consuming, risk of mistakes |
| Professional Service | Fast, reliable, stress-free | Costs more upfront |
In many cases, hiring a furniture assembly service actually saves money by preventing damage or rework.

If you’re comparing options, knowing the standard queen bed size makes decision-making easier.
FAQ: IKEA MALM Bed Assembly
How long does it take to assemble an IKEA MALM bed?
Usually between 2 to 4 hours, depending on your experience.
Can I assemble it alone?
Yes, but it’s easier and faster with two people.
What tools do I need?
Basic tools like a screwdriver, hammer, and Allen wrench. A drill is optional.
Is IKEA furniture hard to assemble?
Not hard, but it requires patience and careful attention to instructions.
Is it worth hiring a professional?
If you value your time or want perfect results, yes — especially for larger furniture.
Save Time, Avoid Stress
Assembling an IKEA MALM bed is absolutely doable — but it’s not always quick or easy.
If you follow the steps carefully, stay organized, and avoid common mistakes, you can get it done successfully.
But if you’d rather skip the frustration, protect your furniture, and save hours of work, there’s a better option.

👉 Save time and avoid frustration — book a professional furniture assembly service in Florida today.
Bed Frame Assembly Services in Boca Raton
- See our guide on “How to Assemble IKEA PAX Wardrobe Without Mistakes”
- Learn more about our furniture assembly service in Florida
- Check out “Top 10 Common IKEA Assembly Mistakes (and How to Avoid Them)”