Ultimate Furniture Assembly Guide: Tools, Techniques & Step-by-Step Instructions for Beginners
Assembling new furniture can feel overwhelming, especially if you’ve just moved into a new home or bought a full set of flat-packed items. This guide will walk you through everything you need to know — from the tools you should use to practical techniques and step-by-step instructions that make the process fast, safe, and stress-free.
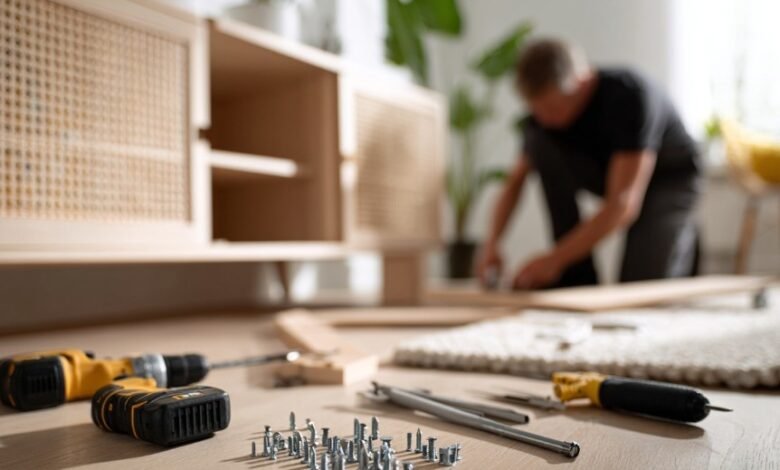
1. Essential Tools for Furniture Assembly
Having the right tools saves time and prevents damage. Here are the must-haves for beginners:
Basic Tools
- Phillips screwdriver
- Flathead screwdriver
- Hammer or rubber mallet
- Allen keys (often included in the packaging)
- Tape measure
- Scissors or box cutter
Recommended Add-Ons
- Electric screwdriver or cordless drill
- Magnetic screw tray
- Level tool
- Protective floor pads
The better your tools, the easier and cleaner the final result.
2. Preparing Your Workspace
Before opening the box, set up your area:
Clear the Space
Make enough room to lay out all furniture pieces and hardware.
Protect the Floor
Use a rug, blanket, or cardboard to prevent scratches.
Sort All Parts
Lay out each piece and compare it with the instruction diagrams.
Check Hardware
Count screws, bolts, dowels, and connectors. Missing anything?
Check the packaging again — small pieces often hide in corners.
3. Read the Instructions First (Yes, Really)
Flat-pack furniture is designed to be assembled in a specific order. Skipping steps usually leads to:
- Misaligned holes
- Loose joints
- Re-assembly
- Broken parts
Spend 3 minutes reading the manual — this saves 30 minutes of mistakes.
4. Step-by-Step Assembly Instructions
Step 1: Identify Panels and Hardware
Match the labels in the instructions with the pieces on the floor.
Most brands use lettered parts (A, B, C…) and numbered hardware (1, 2, 3…).
Step 2: Start with the Frame
Always begin with the basic structure:
- Side panels
- Bottom panel
- Back support
Never attach doors, drawers, or shelves first.
Step 3: Tighten Screws Lightly
When assembling:
- Insert screws / cam locks
- Tighten them only halfway
- Complete tightening at the end
This prevents misalignment and cracking.
Step 4: Install Shelves, Drawers & Doors
Once the structure is solid:
- Add shelves
- Slide in drawers
- Install hinges
- Attach doors and handles
Check alignment using a level.
Step 5: Final Tightening
Now secure all screws and bolts fully.
Make sure nothing wobbles — if it does, reinforce joints or add extra brackets.
5. Pro Tips from Assembly Experts
1. Sort Hardware by Type
Small containers or cups help avoid confusion.
2. Use an Electric Screwdriver (Low Torque)
Saves time but prevents over-tightening.
3. Work on Soft Surfaces
Keeps panels damage-free.
4. Take Photos of Each Step
Especially helpful if you ever need to disassemble later.
5. Don’t Force Misaligned Parts
If parts don’t fit — check orientation, not strength.
6. Common Mistakes to Avoid
- Skipping steps
- Mixing similar screws
- Tightening screws too early
- Working on a hard floor
- Ignoring wall-anchoring for tall furniture
Avoiding these mistakes makes assembly quicker and safer.
7. When to Call a Professional
Hire an assembly pro if:
- The furniture weighs over 100 lbs
- You need wall mounting
- The instruction manual is overly complex
- You’re assembling a full room set
For everything else — this guide has you covered.
With the right tools, preparation, and a clear step-by-step approach, assembling furniture becomes simple and even enjoyable. Whether you’re setting up a new home or upgrading a single room, this guide ensures your furniture is stable, safe, and professionally put together.