

Kids Furniture Safety Tips: A Parent’s Guide to Accident-Free Spaces
Kids furniture safety tips aren’t just suggestions — they’re essential for preventing injuries, protecting toddlers, and creating peace of mind in every corner of your home. From anti-tip hardware to safe storage setups, this guide walks you through how to childproof your furniture, choose kid-friendly materials, and set up every room with safety-first thinking.
Kids Furniture Safety Tips: How to Keep Your Little Ones Safe at Home
Why Furniture Safety Matters in Homes with Children
According to the U.S. Consumer Product Safety Commission (CPSC), a child is injured every 30 minutes by tipped-over furniture. These are preventable accidents — and they happen more often than most parents realize.
Common risks:
- Dressers tipping over when drawers are pulled.
- Bookshelves falling during climbing attempts.
- Head bumps from sharp corners.
- Finger pinches in drawers or hinged lids.
- Tripping over unstable toy storage bins.
Expert Insight:
“The most dangerous piece of furniture in a home is often the dresser — especially when it’s not anchored. A toddler sees it as a ladder.” — Kim A., Pediatric Safety Consultant
Top 10 Kids Furniture Safety Tips for Every Room
✅ 1. Anchor Everything That Could Tip
Use anti-tip straps or brackets to secure:
- Dressers
- Bookshelves
- Changing tables
- Wardrobes
- TV stands
✅ 2. Avoid Sharp Corners
Use:
- Rounded furniture
- Corner guards (clear or foam)
- Soft ottomans instead of coffee tables
✅ 3. Choose Stable, Low-Profile Furniture
- Avoid tall, narrow pieces.
- Go for wide, low units with a broad base.
✅ 4. Use Soft-Close Drawers
- Prevents finger pinches.
- Reduces slamming that could shift the furniture.
✅ 5. Secure TVs Properly
- Wall-mount if possible.
- If on a stand, use anti-tip straps and place far back.
✅ 6. Avoid Glass Surfaces
- Use shatterproof materials or solid wood.
- Glass coffee tables = accident zone for toddlers.
✅ 7. Watch for Hinged Lids on Toy Boxes
- Use slow-close hinges or opt for lid-free storage bins.
✅ 8. Keep Heavy Items Low
- Don’t place heavy decor or electronics on upper shelves.
- Store books, toys, and gear within easy reach.
✅ 9. Use Non-Slip Pads
- Stop furniture from sliding across wood or tile floors.
✅ 10. Check Recalls Regularly
- Sign up for product alerts at cpsc.gov to catch any recalls on cribs, dressers, or chairs.
Common Mistake:
Believing furniture from “kids’ stores” is always safe. Even name-brand children’s furniture can be unsafe if not anchored or placed properly.
Room-by-Room Guide to Safer Kids’ Furniture Setups
Organizing with safety in mind doesn’t mean sacrificing style. Here’s how to set up each space in your home so it’s safe, functional, and kid-friendly.
🛏️ In the Nursery
- Always anchor dressers and changing tables.
- Keep diapers, lotions, and wipes within arm’s reach, but out of baby’s reach.
- Use a non-slip changing pad with straps.
- Skip hanging artwork above the crib — or make sure it’s lightweight and secured tightly.
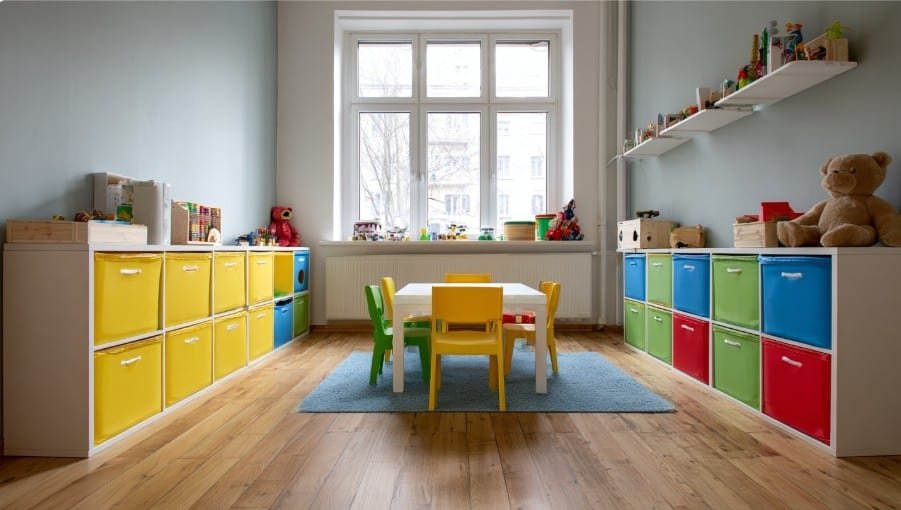
🎮 In the Playroom
- Use open cubbies or fabric bins instead of heavy chests.
- Secure bookshelves to the wall with brackets.
- Choose a rug with grip underneath to prevent slipping during play.
- Store small or choking-hazard toys up high and label each bin for quick cleanups.
📚 In the Living Room
- Replace coffee tables with padded ottomans or low storage cubes.
- Mount the TV to the wall and secure the stand.
- Use furniture anchors for bookshelves or leaning ladders.
- Add corner bumpers on low tables and entertainment consoles.
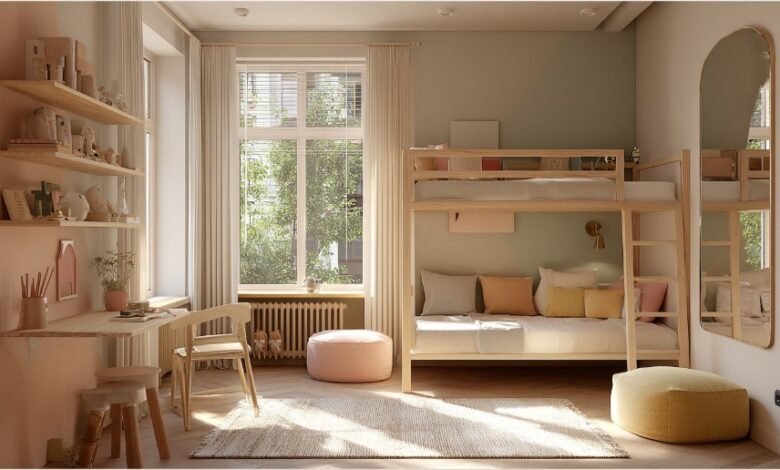
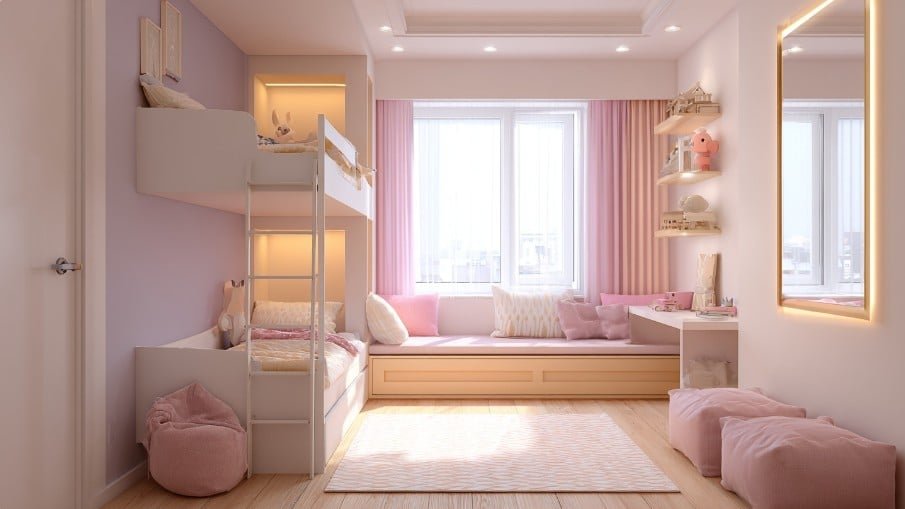
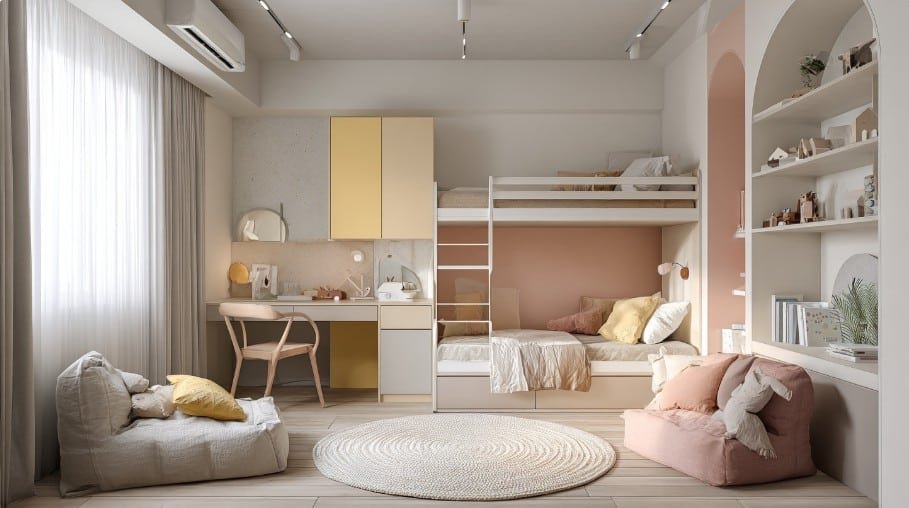
🚪 In Shared Bedrooms or Multi-Kid Spaces
- Avoid stacking furniture (like storage cubes) unless anchored.
- Bunk beds should meet ASTM safety standards.
- Keep nightstands low and stable, and use lamps with covered bulbs.
Expert Recommendation:
“Parents often overlook shared rooms. Sibling dynamics can increase climbing risks, so secure everything twice over.” — Dana R., Childproofing Consultant
How to Shop Smart for Kid-Safe Furniture
Don’t just buy what’s cute — buy what’s safe. Here’s a quick checklist when shopping for any new child-friendly furniture.
🛒 Safety Shopping Checklist:
- ✅ Is it low to the ground?
- ✅ Does it have rounded edges?
- ✅ Are there soft-close drawers or lids?
- ✅ Can it be anchored to the wall?
- ✅ Is the material non-toxic (especially paint)?
- ✅ Are screws and fasteners hidden or covered?
- ✅ Is it JPMA or ASTM certified (especially for cribs)?
Pro Tip:
When shopping online, zoom in on photos and look for stability, no sharp corners, and wide bases. Read reviews for safety mentions.
How Often Should You Check Furniture Safety?
Child safety isn’t a one-time task — as your child grows, their reach, strength, and curiosity grow too.
Safety Check Schedule:
- Every 3–6 months: Re-tighten anchors and brackets.
- After big milestones: (like crawling or walking) update layout.
- Seasonally: Rotate toys, adjust bins and drawers based on use.
- After moving: Re-anchor everything in the new space.
Conclusion: Safety First, Always
Creating a safe space for your child isn’t about fear — it’s about preparation. With the right furniture choices, smart placement, and a few essential tools like anchors and soft edges, you can design rooms that feel calm, welcoming, and safe for years to come.
Remember: kids explore, climb, pull, and fall — it’s what they do. Your job is to make sure the furniture around them isn’t part of the danger. Think ahead, secure everything, and you’ll give your child not just a place to grow, but a space to thrive. Weather-resistant outdoor furniture
FAQs
1. What furniture should always be anchored in a kid’s room?
Dressers, bookshelves, wardrobes, and any tall storage units — even if they seem stable.
2. Are soft-close drawers necessary for kids’ rooms?
Highly recommended! They prevent pinched fingers and slamming accidents.
3. What’s the safest type of toy storage?
Open bins, cubbies, or drawers with no lids. Avoid heavy toy chests with sharp edges or heavy tops.
4. How do I babyproof furniture that isn’t kid-specific?
Use corner guards, anti-tip brackets, non-slip pads, and drawer locks. Convert what you already own to be safer.
5. What materials should I avoid in children’s furniture?
Untreated woods with rough surfaces, uncoated metals (rust risk), thin glass, and furniture with toxic or peeling paint.